As some people know, I am the owner of 2 ponies. One is a micro heavy horse, the other is an animated sock puppet, and they are currently causing me untold sleepless nights because one of them is very poorly.
I’m very fortunate that we have a good vet and modern medicines, and in the long, dark hours of the night sitting up with the patient, I’ve been thinking how it might of gone if we were back in the “golden age” of the canals.
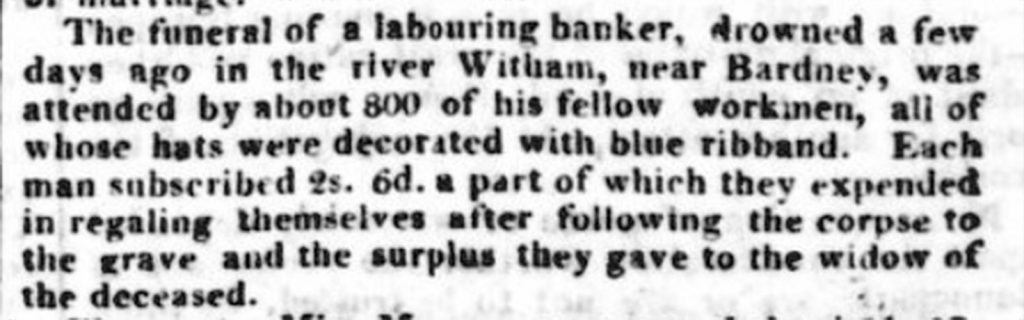
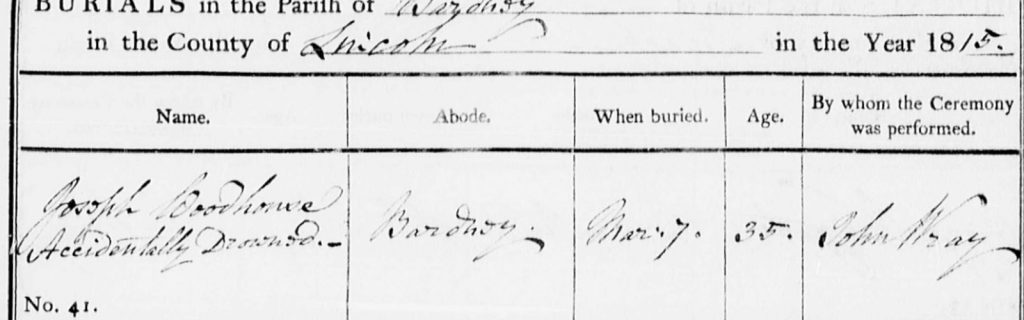
Remembering of course that a newspaper wont publish a story unless it has a little bite to it, a very quick search of the newspapers using the keyword ‘boathorse’ brings up a plethora of court cases that show the darker side of horse boating, with headlines full of “brutal boatman” causing untold cruelty to animals, but pushing past the genuine cruelty you start to see some of the real veterinary story.
")
Horses are naturally rear-wheel drive, that is to say that their propulsion comes mostly from their back legs pushing them forward. Boating is collar work: a broad leather collar his goes around his neck and rests on his shoulders, from the collar two traces run down his side to the straight bar - the swingletree - that is coupled to the towline. To start off, he will lean his weight into the collar until the load comes on the traces, and then he’ll use the strength in his back legs to push himself forward into the collar to keep going.
With this in mind, it will be of no surprise to learn that one of the two most common problems a boathorse could suffer from was issues with his shoulders. An ill-fitting collar could rub the skin raw and quickly become an open sore through continued work, and the wrong size of collar could also put pressure against the shoulder joints and injure them.

When the horse was company owned, the boatman would simply swap the animal at the first chance he could. The treatment for those horses would generally be rest and having their collar changed. Where the horse was the only one a boatman had access to, it became more difficult.
That’s not to say a boatman would ignore the problem until the horse fell down, but he couldn’t lay the boats up as long as there was motive power. First of all he’d look at the collar. Sometimes he could ease the problem by pulling the stuffing out of the collar where the injury was, removing the pressure while the horse was working. If it wasn’t an open wound and he was feeling flush, he might just buy a bottle of rubbing lotion to take the pain way; the active ingredient in these was usually opium so it may well have worked.
Foot issues were the other common problem. Aside from the obvious problems of treading on stones or cinders, a horse’s hoof grows continuously and if it’s allowed to grow too long or is trimmed badly, it can force the horse to walk in an unnatural fashion, making him lame. By the same token, a horse who was shod (not all of them were, some boatmen swore that keeping their horses ‘barefoot’ was much better for the horse) could find the shoe come loose, come off completely or even just have it badly fitted, all of which would leave a horse limping on one or more feet.
These problems were the realm of the farrier. These men should not be confused with blacksmiths; a blacksmith is a smith who works with iron – for example gates or tools - but he may never work with horses, while the farrier is the equivalent of an equine podiatrist, and will know enough blacksmithing to make and fit horseshoes.
Farriers were often considered as good, or better, then vets and farriery books were often full of veterinary advice. By the same token, a vet would be given full tuition in basic farriery (and still is.)

In the 1930’s farriers became a little thin on the ground. A huge amount of the apprentices had been killed in the war, and the rise of the motor car made farriery seem an unstable career option. Getting a farrier full stop started to become difficult, let alone getting a good one, and reports increased of badly shod boathorses being worked while lame. A judge in London reduced the fine of a boatman found working a lame horse because the boatman had been seen to make a marked effort to find a decent farrier and was still working the horse out of necessity rather than active cruelty.
Canal stables, with their vast turnover of occupants from all over the country, could be rife with contagious illnesses, some of which were zoonotic and could spread to the humans as well. Ringworm is an unpleasant example, often known as rain scald, and its treatment was variously sulphur, iodine, turpentine or sometimes a mix of all three.
All working horses were at risk of stomach problems, from eating too fast or not getting enough to balance against their work, and boathorses also had a higher risk of eating things they shouldn’t. A mouthful snatched from the hedgerows of the towpaths and or grazing at the lockside as the boats came through; it was all too easy for a hungry, or greedy, horse to grab a mouthful of a toxic plant.
Colic was the general result. Colic is something of a catch-all description that basically means the horse has stomach ache, and caused by everything from drinking cold water to constipation, as well as being a bonus problem for serious complaints like liver disease. Every horse-keeper would have had his own recipe for a cure. One man’s immediate go-to was a salt-water enema for one end and a dose of liquid paraffin down the other, while another’s was a draught made of 3 parts whiskey, one part laudanum. Both men remarked that these were the same treatments they gave to their children, although the former noted that his wife wouldn’t suffer the same ministrations!


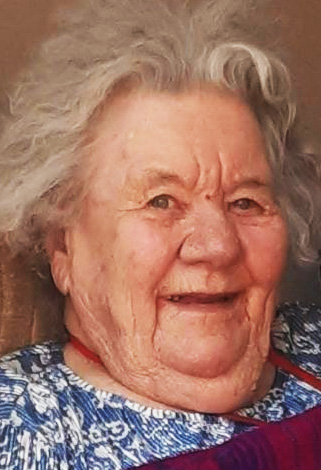 Echoes of what was said about her resonate with the comments being made about Queen Elizabeth II in the wake of her recent death – duty, service to others, family commitment, love, constancy, humour.