heavy cable crimping
Oh dear what have I taken on, promised to do an article on crimping cable and ended up with 49 photos some duplicates so let's see how it goes.
Let's start with what is needed
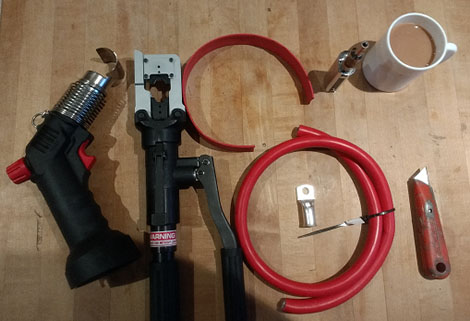
1. left to right: Heat gun for heatshrink; Crimper; Heat shrink insulation; Cable in this case 95mmsq; Termination 95mmsq with a 10mm hole; Vaper; Tea; Sharp knife.
I suppose the next item should be the termination. All terminations that we use on boats should be tinned copper and the size of the cable it will fitted to and the size of the hole should be impressed on the spade of the termination.
To make our lives easier it is better to buy ones where the cable entrance is slightly belled – that makes it easier to insert the cable. The hole for the cable is a close but loose fit.
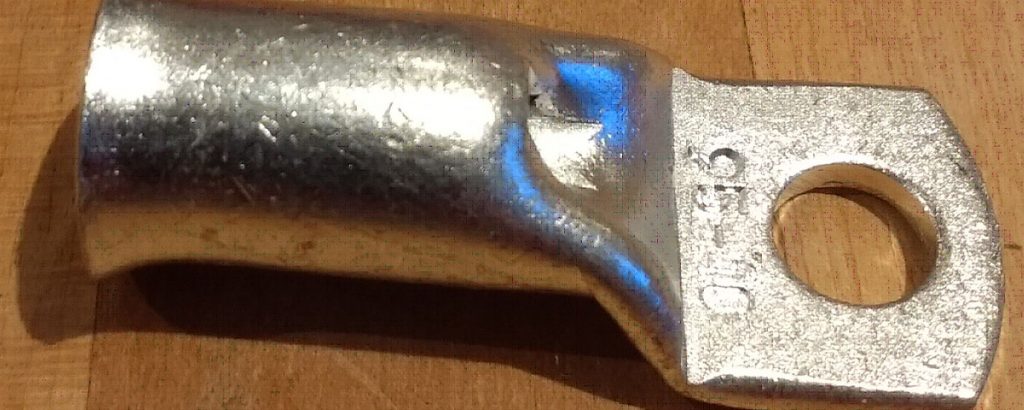
2. termination
At the spade end of the tube is a hole the hole is useful as it allows you to see if strands are fully filling the barrel and the ends of the stands should be very visible but we will get to that later.
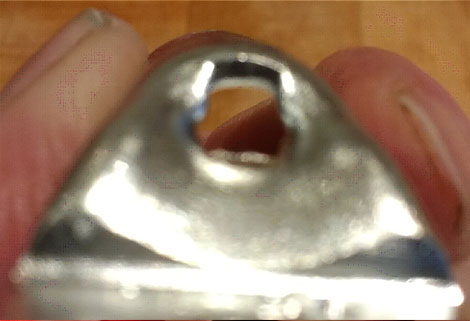
3. hole in the termination
Now we need to prepare the cable end to go into the termination, The easiest way I find is to put the cable along side of the termination so that its end is level with the centre of the hole and I mark where I am going to cut the insulation back to with my thumb nail.
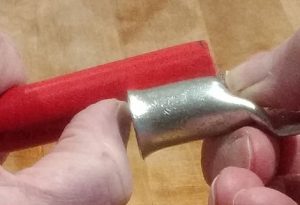
4. measuring the insulation to be removed
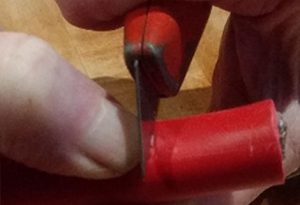
5. position knife for cut
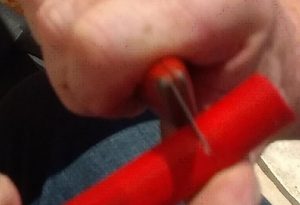
6. cutting insulation
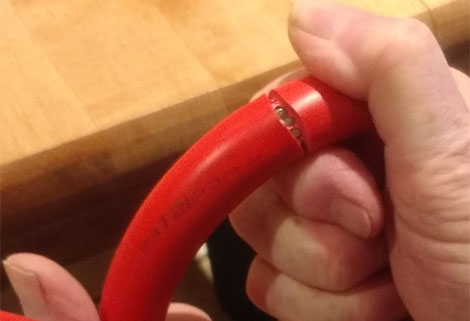
7. showing the insulation breaking away on the final 1/2mm
Then using a very sharp knife, gently but firmly cut around the cable – being careful
not to damage the copper strands under the insulation. Then bend the cable at the cut and the insulation should break through the last 1/2mm or so to the copper.
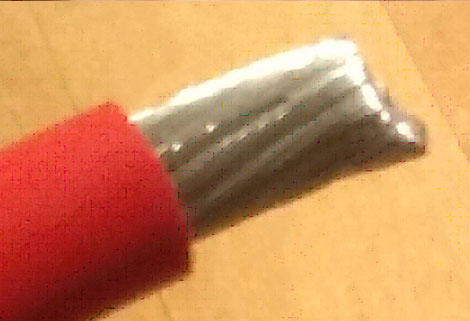
8. bare end ready for insertion
You end up with the bare strands. Gently and with minimum pressure, coax any strands that have come out of place back into position by using fore finger and thumb. Starting at the insulation, rotating your finger and thumb round the strands, going in the direction the strands lie, and smooth any out of position back into the body of the strands. The object is not to screw the strands tightly together just coax the strays back into position.
Now insert the strands into the termination, rotating the termination normally in the direction the strands lay in the cable can assist this.
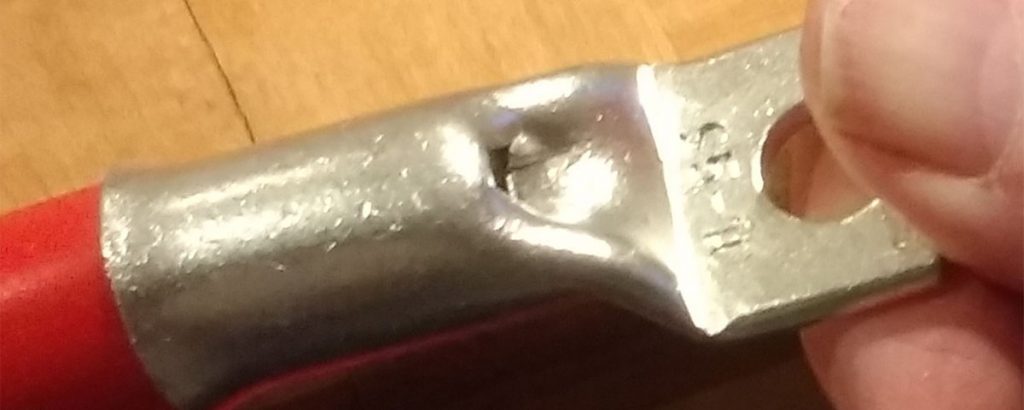
9. termination on
Now we come back to the hole I mention in the end of the barrel that the cable goes into. The strands should be right up to it and easily seen. Looking into the hole the strands are a couple of millimetres back, so we need to lengthen the bare strands by taking of about 2mm more off the insulation. Again sharp knife and gently remove about 2mm of the insulation.
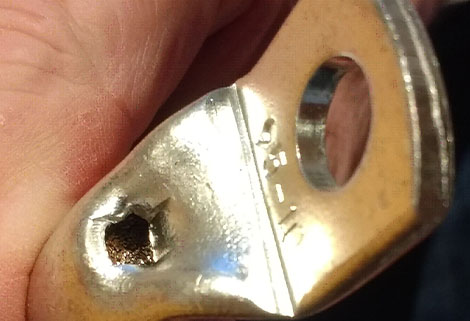
10. showing strands further back than
they should be
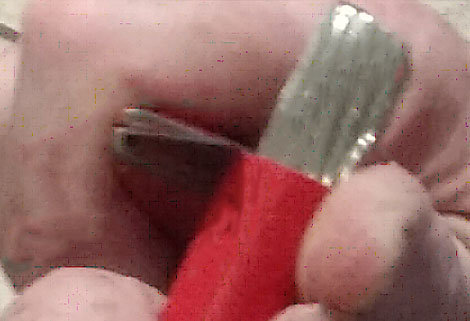
11. taking off an extra 2mm or so
Put the termination back on and pushing the cable into the termination it should look something like this:
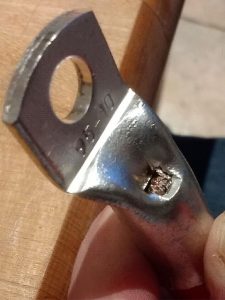
12. strands about where they should be
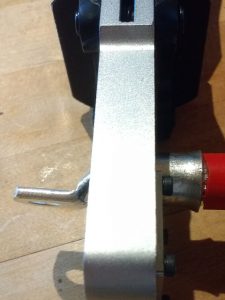
13. termination in the crimper for the first crimp
Now comes the actual crimping, make sure the crimper has the correct moulds in. Put the cable into the termination and partially close the crimper so termination can just slide in. Position the termination so that it is set in the crimper so that the first crimp will be just behind the hole in the termination. While pushing the cable firmly into the termination, crimp the termination to the cable. Remove from the crimper when completed and it should look like this picture on right.
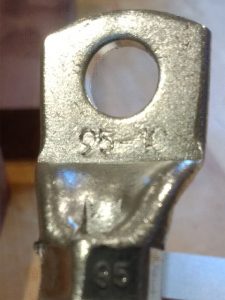
14. after first crimp
Now reinsert the termination so that it will put a second crimp immediately the cable side of the first crimp.
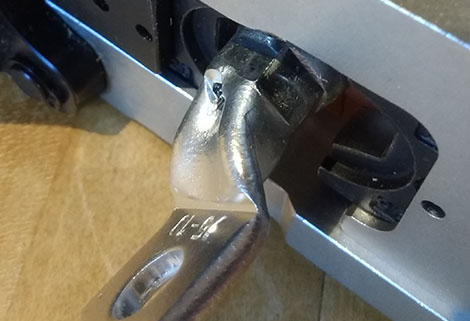
15. in crimper for second crimp
Then with this size of termination repeat with a third crimp. How many crimps a termination will take depends on the width of the mould and the length of the termination. It is particularly important with cables that will carry heavy currents, that as much of the termination as possible is crimped to give the greatest good contact area for the current flow. Now get hold of the termination and pull as hard as you can. If it stays put, all is OK.
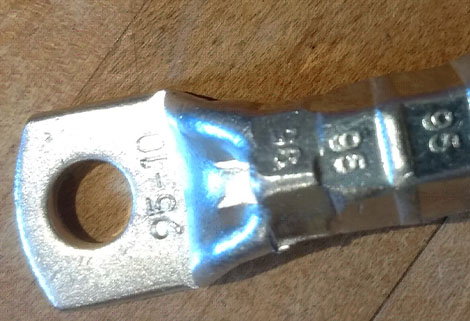
16. completed third crimp
All crimps should be insulated, please do not use insulation tape, it does not look good and gradually comes off. The best I have found is heat shrink tubing. Cut a piece double the distance from the back edge of the spade to the insulation slide it over the terminal. On sea boats where salt air is a problem a blob of silicon sealant to fill the hole and keep the sea air out before heat shrinking is a good idea.

17. putting heat shrink onto the cable
Slide it on so that the outside edge is just behind the back edge of the spade of the termination.
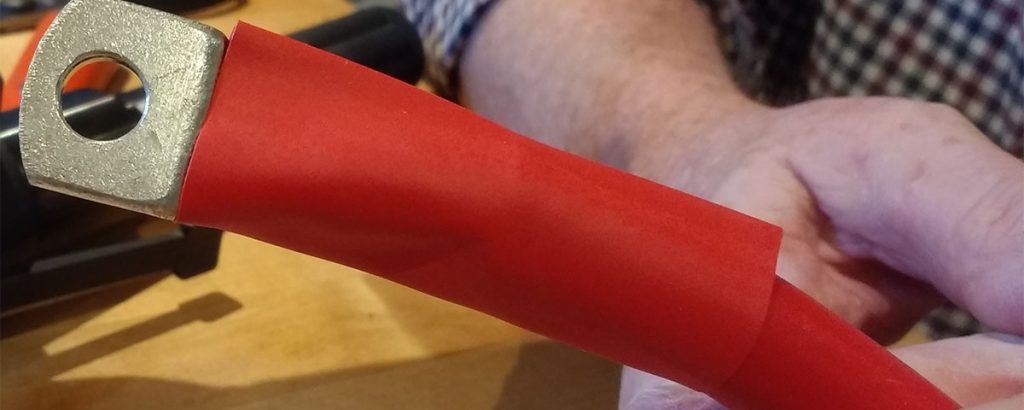
18. heat shrink on the cable end just behind the back edge of the spade
Heat the heat shrink with a hot air gun starting at the termination end – remembering to rotate the cable – moving along as the tubing shrinks.

19. hot air gun shrinks tubing
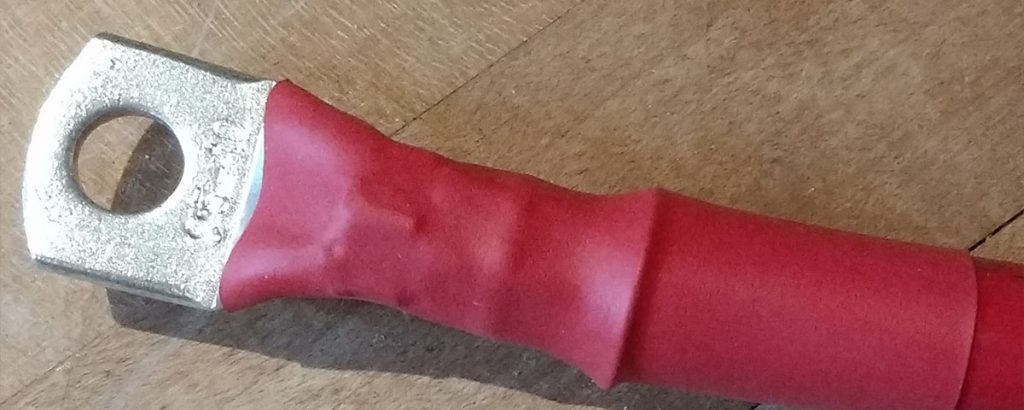
20. completed crimp
© Graham Mills 2020

