If someone had told me 4 years ago when I semi retired from the NHS that I would own and run a narrow boat holiday business instead of looking after mummies and babies , I wouldn't have believed them for a moment! And yet here I am running, single-handedly, Tiller Girl Narrow Boat Holidays.
mummies and babies
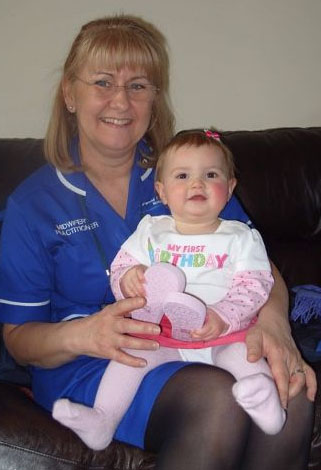
Having spent my 45 year working life with the NHS, firstly as a Cardiac ICU nurse then Registered Midwife. I have been so very fortunate to have had an exceptional career. I love meeting and working with people from all backgrounds and walks of life, its what makes life interesting and varied.
Having cared for women, babies and their families for the past 26 years it has been a roller coaster of emotions, but I have loved every minute (Well nearly every one...).
But all good things come to an end and times change. The opportunity to take flexi retirement. I would have more time with my family and hobbies, but keep one leg in midwifery and still maintain a working wage. It seemed to be a good move.
I had for some time been thinking of having a second income such as a self catering property and had been looking for a small cottage preferably in the Yorkshire dales (I'm a Yorkshire lass through and through) or on the Yorkshire Coast to invest my hard earned pension.
My eldest son Ben who bought a narrow boat a few years ago to live aboard and who completely rebuilt the interior, said 'Mum, a narrow boat would be better!' He felt it would be easier to maintain and hire out, being closer to home. So off we went to have a look.
a boat of my own
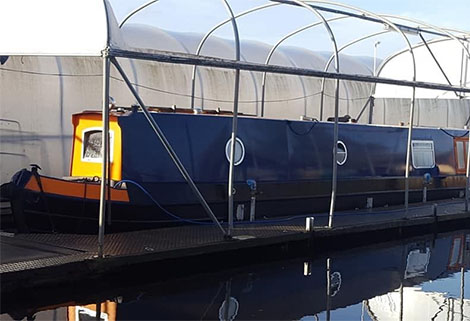
We were offered a viewing there and then... she really seemed to fit the bill and because she was only 4 years old, we felt she would be a sound investment. My father always said when making a big decision, sleep on it and if it still feels good in the morning then do it!
I had searched the internet to look at average costs and what type and standard of narrow boat was available, the range was mind blowing but we felt that this was the one for us and had lots of potential.
Within a week the job was done! Following a full survey (which we would always suggest!) and a bottom blacking, John and I moved her to Sawley Marina and changed her name to Tiller Girl which was John's suggestion because, as he keeps telling me, she is my boat, not ours!
I must admit to waking a few times in the night with 'what have I done, that's a lot of money to spend!' but on the whole couldn't wait to get started on the refurb!
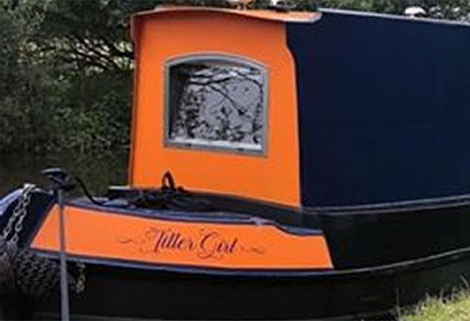 Tiller Girl was built as a 2 berth live aboard in 2014 and I felt she would perfectly fit the bill of my idea to have a couples' retreat, a luxury boat for time out and relaxation as well as family holidays.
Then came months of the steepest learning curve ever! I thought my midwifery studies were hard, but this was a different kettle of fish and with no guidance or tutor but myself! Although we had had many river and canal holidays growing up as a family, and having a brother and nephew as marine engineers, I still spent many an hour on the internet researching hire companies, insurers, Facebook narrow boat pages and the Canal and River Trust website to find out what I needed to run my own hire boat - as well as reading all the manuals and building specs of the boat. My brother Rob, now answers the phone to me 'Canal boat engineer support'! He says I only phone him when I need something...!
interior
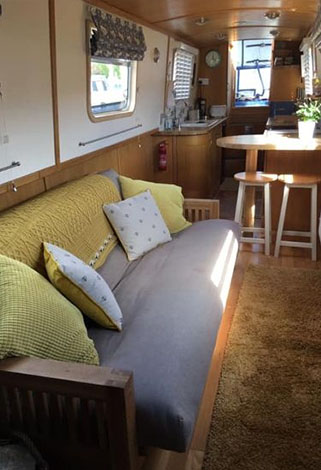
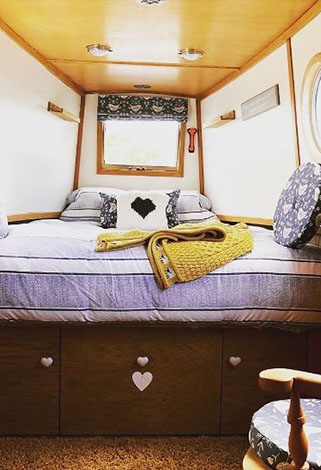
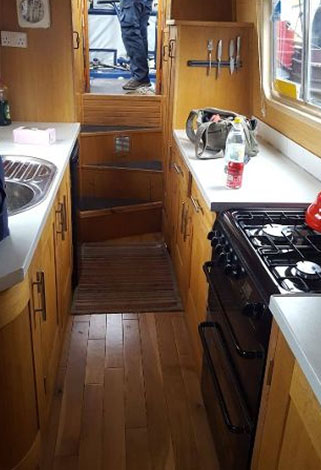 And then we started on making the interior into what I felt would be expected of a luxury hire boat.
Every bit of the internal woodwork has been cleaned and sanded, waxed or painted, a carpenter friend carried out a refit of some of the internal doors, fitted new oak worktops and breakfast bar and righted all the wrongs or 'unsafes' that were highlighted on the survey. Ben helped me with loads of advice and support with painting some of the exterior.
Learning the ins and outs of how to service and look after a beta marine engine and how the electrics and batteries worked was difficult to say the least and so much to take on board that I must admit to feeling overwhelmed and having doubts whether I could ever manage the boat maintenances. But I pulled up my big girl knickers and faced it head on!
Applying for the commercial licence from The Canal and River Trust meant I had to write a hand over manual which was pretty comprehensive and descriptive and again other boat companies were a great resource (No plagiarizing though!) and having a good understanding of writing health and safety with the NHS it was finally accepted and my license arrived! The Boat Safety Certificate had to be completed for commercial hire but very little needed to be done which was great news to my bank account!
 Julie Cutts, the manager at Sawley Marina where we decided to moor her, was an absolute gem as are all the staff (and many of the boat neighbours) and have supported me all the way with great wealth of knowledge of hire boat companies, to mooring and giving us our own embarkation point at the marina and for all of this I pay a commercial mooring fee which is an extra 30%.
I'm sure every narrow boat owner has a dislike for the wind when trying to navigate a 57 foot boat of steel in any wind stronger that a whiff of breeze! Marinas are so tight on space and with other boaters (experienced or not!) watching and commenting(!) makes it even worse getting out and on to the canal! Red faces and lots of apologies were often the order of the day when first starting to learn manoeuvres! So having the embarkation next to the canal was a god send in the beginning.
Great working relationships are the key, and luckily having experienced this in my job as a community midwife made it easier when dealing with companies, boaters and the general public.
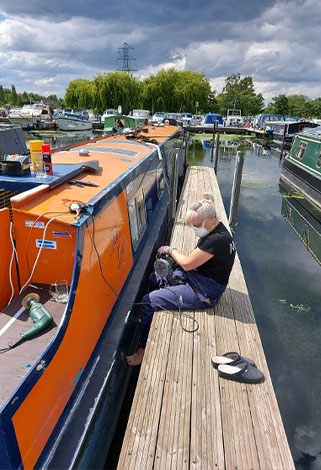 Then COVID-19 reared it's nasty viral head and everything came to a sudden stop! I fully refunded everyone who had made a booking and by this time, funds were running low. I couldn't carry out the planned external painting and the Marina was flooded. So a worrying time all round.
The external painting didn't happen apart from little bits here and there to make her more presentable. Tiller Girl is Sapphire blue and orange and not the colour I had imagined my hire boat to be, but we have had so many positive comments on the 'Floating Jaffa Cake' that she will remain as she is and I have built our image around it.
By the time I was free to go back on to Tiller Girl, I was eager to get started. Time was running short and I needed her ready for when I could get her out on the water and earn some money!
Enquiries for holidays started coming in as soon as the Facebook, Instagram and web pages were up and running. I had cards printed and sent them to all the marinas in the area, left them on shop notice boards and in chandleries and the marina office.
Bookings for spring and summer came in although a great many enquiries did not lead to bookings.
I wondered if it was to do with the cost/pricing. I had thoroughly researched costs of other hire boats and took an average although I was advised to put the prices slightly higher as it was felt to be 'an exceptional hire boat'.
I offered to donate money to a spaniel re homing group from any bookings on their website which worked well.
I maintained low season prices as I felt this may stimulate custom and it certainly seemed to work as I was fully booked until mid October! Dates had to be flexible due to COVID giving 72 hours between bookings, deep cleaning and my part time work Rota at Sherwood Forest Hospitals
As soon as we were given the all clear from the CRT and the government to begin hiring, I had many more bookings and enquires and our first guests arrived on the 27th July!
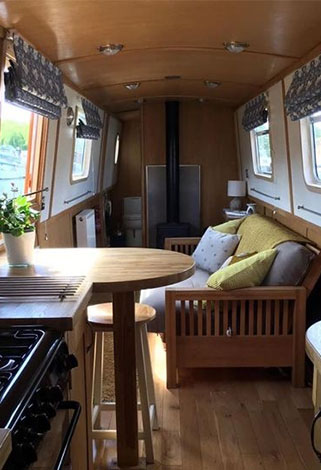 Hand over is intensive and takes around 2 hours, with a tour of the internal features including fire safety, exits and cassette toilet. I encourage all hirers to read the manual and watch the videos on the website prior to coming on Tiller Girl and ask them to sign an agreement that holds them responsible for the boat.
All hand overs are socially distanced with face masks and hand sanitizer. I have removed many of the luxury features such as books, games and soft furnishings due to covid-19 and strictly follow the government guidance on deep cleaning.
We then leave the Marina and guide them through to first lock, discuss and demonstrate casting off and mooring up, good water etiquette and boat manoeuvrability amongst every thing else.
It's a massive amount to take on board (Literally!) and when the guests feel happyish and me too, I leave them and make my way back to the Marina on foot or bicycle. I wish I could take a picture of their faces when I leave! There's such a mixture of panic, realization and excitement that it's now all up to them!!
There have been a few hiccoughs along the way which I have managed to straighten out without too much hassle; Lack of battery power, inverter problems (due to lack of Battery power), water ingress from the mushroom vents in torrential rain and a leaking stern gland, all manageable thank goodness.
I have my phone next to me 24 hours a day so guests can ring me at any time, I must say they have been very respectful! Experienced HGV drivers and caravan owners seem have a better understanding of manoeuvrability, the contribution of strong winds and battery power.
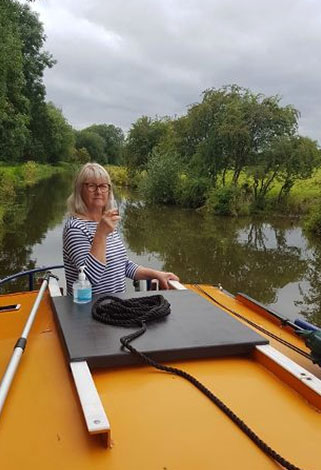
Safety is my main concern and I work hard to maintain good safety procedures and an extensive hand over to ensure that beginners are fully aware of the dangers of the water, especially around locks. My heart was in my mouth as I watched a not young, returning guest walk along the roof of Tiller Girl entering a lock! We supply a range of sizes of buoyancy aids - even some for dogs as we are pet friendly.
I have had a very hard season running Tiller Girl, working as a healthcare professional through covid-19 which led to a much higher work load in the NHS and the strict deep cleaning on Tiller Girl.
There is still plenty to do to reach Tiller Girl's full potential but I am looking forward to another hopefully successful season with much still to learn and experience and many more wonderful guests to welcome aboard.
I have taken the plunge and will be retiring fully from the NHS in January 2021 to focus full time on Tiller Girl! Fingers crossed!

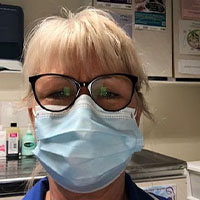 Melanie Franklin-Pryce is the owner of Luxury Narrowboat Hire 'Tiller Girl'.
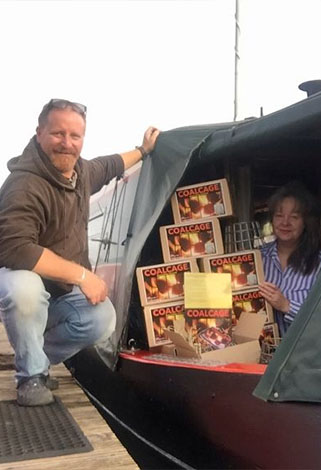 Long ago I met my future wife after mooring up next to her. We spent the next few years being young ‘love-aboards’ and enjoying Narrowboat life.
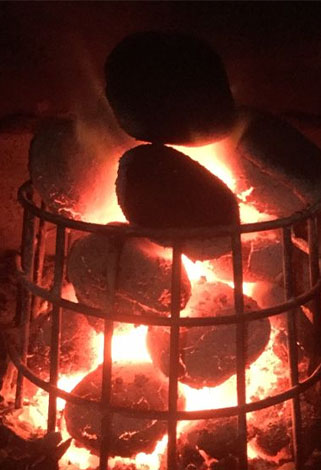 It suddenly dawned on me that if it had a basket of some sorts I could just bung it all in and it would take the faff and balancing act out of the procedure.
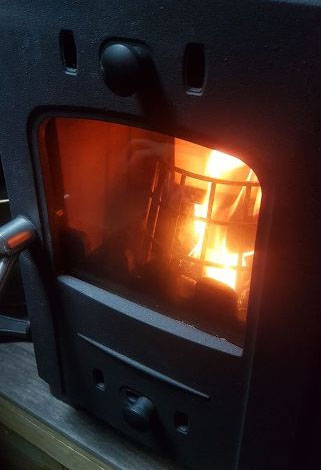 Surely, I asked myself, there must be something available already? No - nothing. Nothing at all like it was available as a stove accessory for coal.
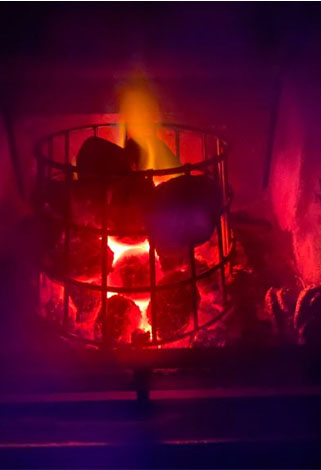 All the while this process was going on it was the hardest thing to keep quiet! We we’re so excited with how it was working and improving our stove experience. Visitors to the boat were kept at a minimum whilst we tried surreptitiously to draw any attention away from our stove. We now couldn’t imagine life without it!
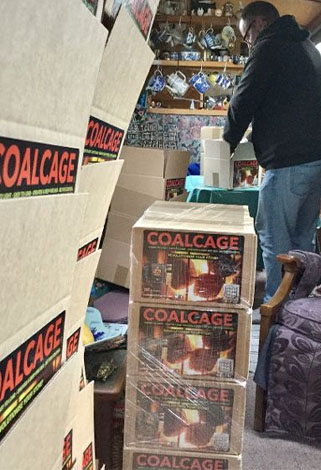 Getting the first batch was so exciting as it suddenly became real. Boxes and labels agreed with a local printer and we were away.
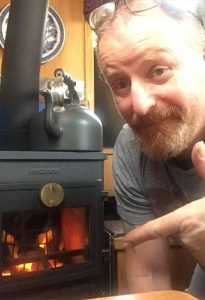 Rosie & Wayne Sharman live aboard their narrowboat James Arthur and if you are lucky enough to spot them on the cut, you can buy directly from their boat.
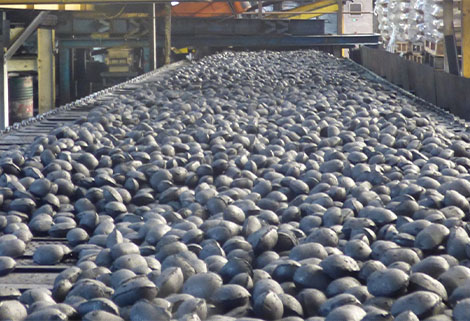 The Oxbow Excel briquettes are produced at our plant in County Durham in the North East of England.
 Since then Oxbow have learned not to mess with the classics and the Oxbow Excel remains consistently top quality with the recipe largely unchanged for many years.
 Instead of bringing out a new fuel to compliment the open fire fuel Oxbow Excel was considered to be, Oxbow, with minor adjustments, made the fuel versatile enough in its own right to be considered a multi-purpose fuel.
 Oxbow Coal Ltd provides a diverse line of products, backed by expert technical support and knowledgeable customer service. Our philosophy is that the most effective way to earn a customer’s trust and loyalty is through the superior performance of our products as well as the energy and talent of our people.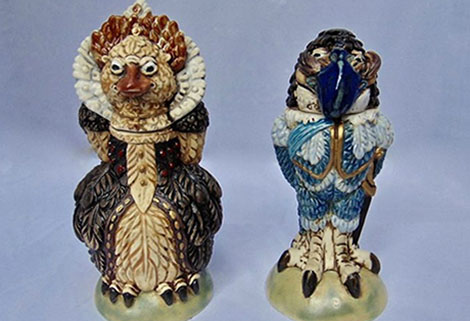

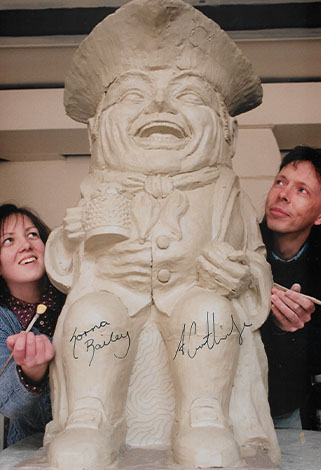 Standing over three feet tall, this Toby Jug was commissioned by the American Toby Jug Museum, based near to Chicago in the USA.
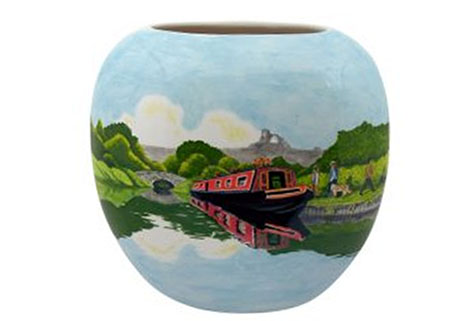 More recently, Tony has been hand painting vases with his own designs for Stoke Art Pottery, each design being totally exclusive.
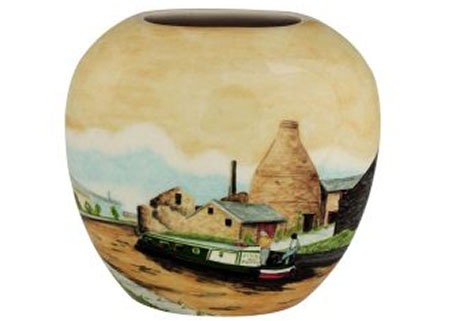 The idea was hatched - so after some heart searching it was decided we should go ahead and offer the facility of hand painting owners own canal boats onto the scenes already developed.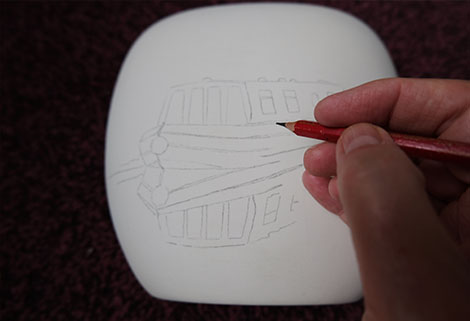
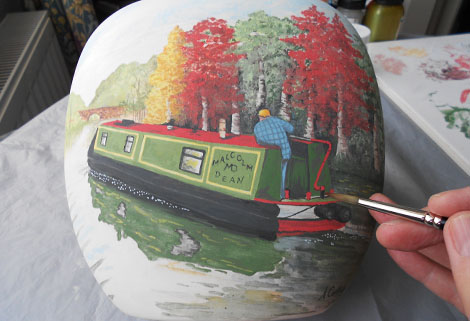
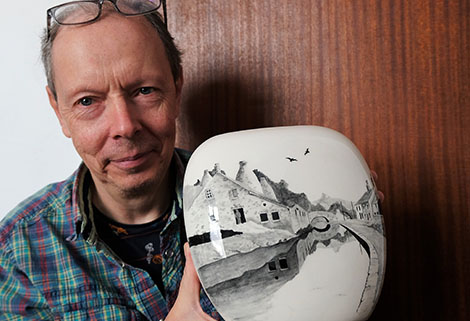 The hand drawing and hand painting of each vase will take three to four days to complete. The delivery time for each order is 28 days, and as already stated, each will come with its own certificate of authentication.
 Weather conditions play an important part when painting outside. Avoid if possible painting in direct sunlight or when the boat is obviously warm to the touch. The ideal temperature for painting is between 12oC and 20oC. Higher temperatures could result in poor flow, rapid drying and loss of gloss. Windy conditions will lead to dirt pick-up and faster drying. Do not apply in damp conditions and aim at finishing painting by mid-afternoon, as overnight condensation may affect the finish.
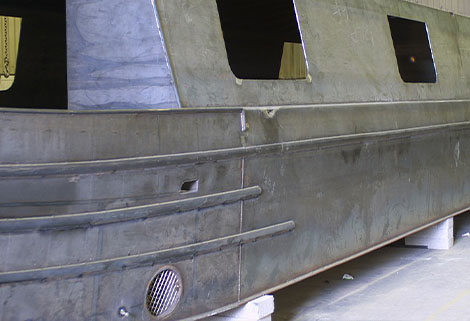 BARE STEEL
 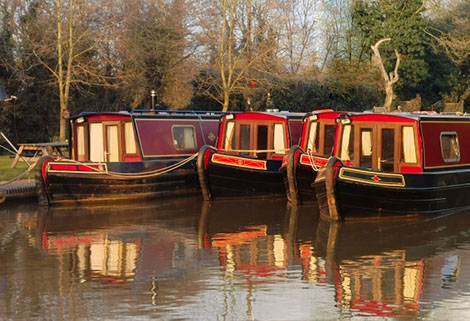 PREVIOUSLY PAINTED SURFACES
 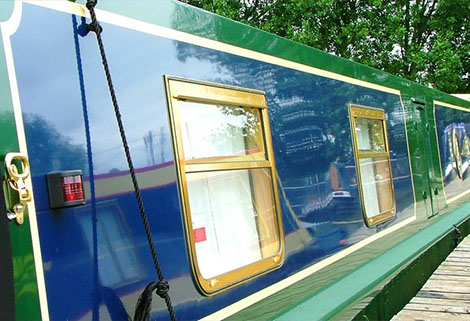 Apply the paint using a good quality 2½” to 3” brush. Gloss rollers and pads can also be used. To ensure even application, apply by crossing brush strokes before laying-off. On boat sides, always lay-off with vertical strokes. With large areas such as cabin tops, best results can be obtained by two people applying to prevent loss of wet edge – one person applying, the other laying-off. When brushing, it is recommended that the brush is held at 45 degrees to minimise brush marking. Where masking tape is being used, it is recommended that this is removed before the paint has reached a light touch-dry state, as this will ensure a smoother edge.
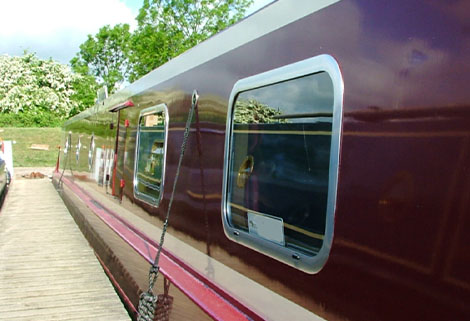 Wipe over thoroughly after abrading, as dust and debris will affect the final appearance. The smoothness of the finish is ultimately dependent on the preparation, especially for Undercoats and Primer/Filler. Where coarse profile steel has been used, or where underlying imperfections in the surface exist, extra coats of Primer/Filler and Undercoats should be used.
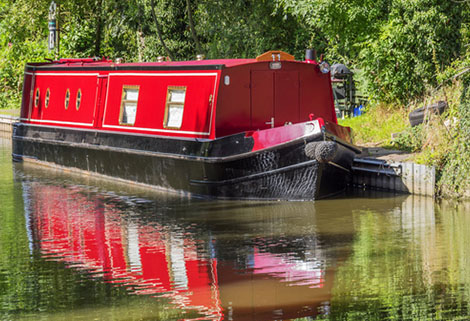 NEW WOOD
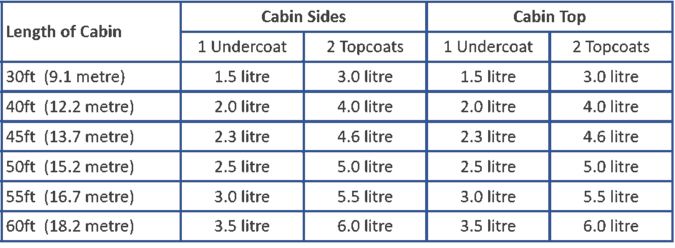
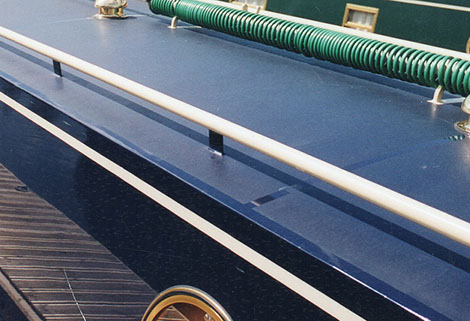 Rylard Slip Resistant additive can be used with all Rylard topcoats.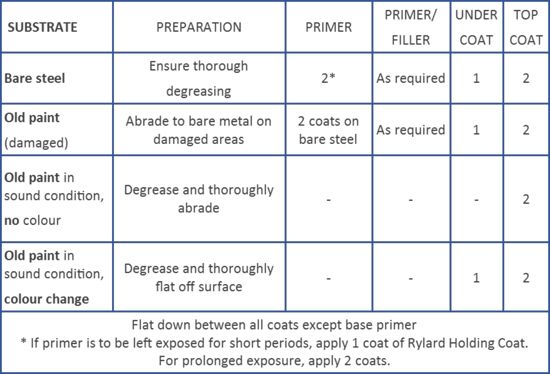
 Rylard Paints is a well-respected name in the supply of paints for canal boats, narrow boats, dutch barges and leisure craft. Through its Research and Development program Rylard continues to provide state-of-the-art products, manufactured in the UK to the highest Quality standards. We provide a range of coatings for canal boats, from blacking to topsides, anti-slip for decks and roofs, to brass lacquer to keep metal fitments glowing.
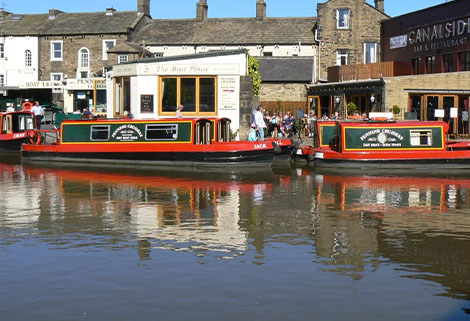 Through odd canal holidays, trips on the rivers and being fortunate enough to have friends on the canals as a child, I eventually caught up with our fantastic inland waterways and the lovely people that live, work and holiday on them. We found a fantastic company to hire from, Pennine Cruisers. A Skipton based company on that lovely Leeds and Liverpool canal. This company soon became the key to the start of Yorkshire Bespoke Tiller Pins. As the article goes on you will see why. All staff and owners, over many trips with them, soon became what me and my wife class as our Skipton family.
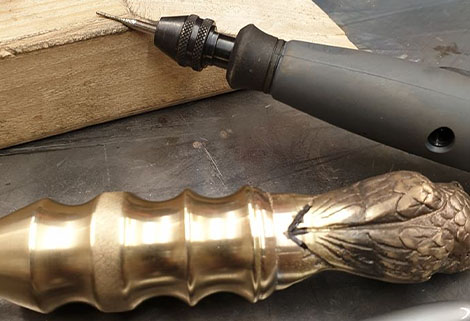
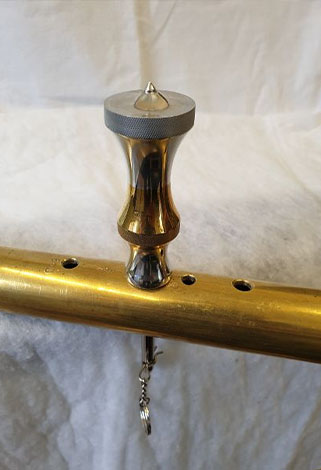 On rummaging around, I found an old piece of round brass stock, along with a solid piece of aluminium from my workshop stock. Straight away I knew I was going to make him a tiller pin. The two pieces of material had caught my eye, even though they were both very dull. I thought that if I could use the two pieces together, the result would be quite unique. I began looking at new ways on how to work and join the two pieces together. I also knew when they were machined, they had to give a flawless impression as though they were all from one piece. I eventually found a way to do this and set about making the blank into an attractive eye-catching shape. This just seemed to flow and sooner rather than later, the tiller pin was made. I was unsure if I was on the right track with it all, so for a bit of confirmation I sent a picture of it to ‘Our Zoe’ at Pennine Cruisers to ask her opinion. I was expecting some changes may be needed, but all I got from Zoe was ‘Wayne is going to love that!’ It was buffed, polished and ready for our trip up to Skipton for our next of now many boat trips.
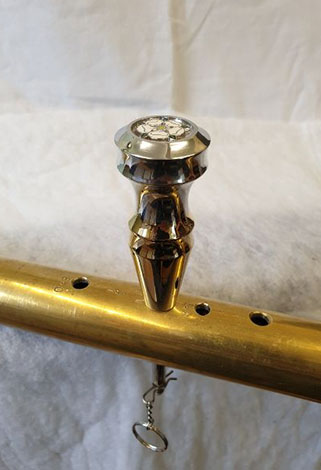 By our next visit 6 weeks later, now October 2019, I had come up with 4 new designs all combining brass and aluminium. However, one of these was clearly turning heads: Tiller Pin Zoe (all my pins are named after the staff at Pennine Cruisers). Tiller pin Zoe was a little different, because I had incorporated a recess in the top to house an enamel Yorkshire rose.
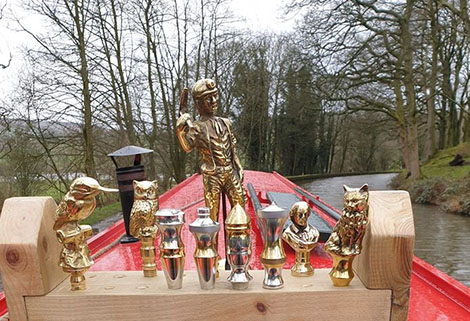
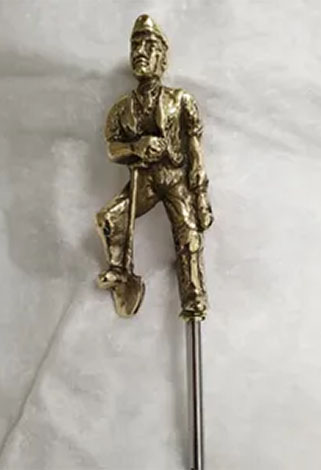 I started getting odd jobs - repairs, lathe work brazing and odd bits. Then people started sending me brass items that they wanted me to turn into tiller pins. Many were hollow and could not accommodate a good thread for the actual pin itself. So, I would machine a solid brass boss, then tig braze that to the hollow cast body. This was becoming a popular request, and other work started to flow in. Praise for my work was building and it was common for customers to say they were told that what I managed to do couldn’t be done. I suppose wrong advise from wrong person scenario.
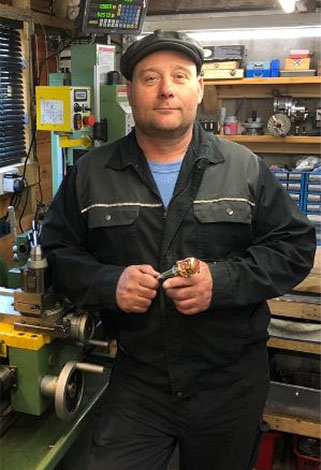 The rate and pace to me was exhausting. Sammie was relentless. Left no stone unturned. Within three days Yorkshire bespoke tiller pins had a running Facebook account. Had a web site not only built, but up and running. Had a PayPal account set up etc. Groups were getting in touch from our posts asking us to join. I had picked up my first big order thanks to Finesse boats who were very helpful and encouraging. This led to me finding a Sheffield based enamel logo and badge place. Which led to a local material suppliers Avus Metals. The snowball effect was starting to happen. New customers from the website and from Facebook were steadily on the up. Comments and positive feedback were a massive incentive for me to carry on. What really hit home was just how willing the much bigger companies, boat builders, marinas online canal merchants were to get behind the little firms. It really felt like big brothers were keeping a look out.
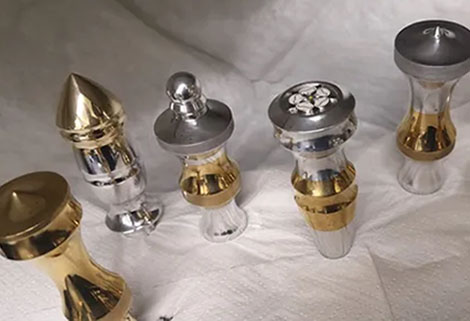 It is very early days. I have a range of tiller pin bodies now and there will be more designs in the future. All named after Pennine Cruisers staff. There are now many other material options available and body material combinations. I am passionate about brass ware and love to repair figures that are broken – it gives them a second chance with a fantastic view from the tiller for their retirement. I find it very warming to know I have turned a personal object into a lovely tiller pin for someone. I now incorporate and work with more enamel options in my own tiller pin range along with boat name plates. I’m also venturing into other things for my growing customers, the cards are still on the table, but I believe they will be something to consider on your boat.
 RCR managing director, Stephanie Horton, comments: “Fuel problems are mainly caused by diesel bug and contaminated water. Diesel bug is an enzyme that lives off water in the diesel, either appearing as black dust/ soot or a black slime/jelly. Once in the system it clogs the engine’s fuel arteries and stops the engine working. Mild cases will respond to a fluid ‘Marine 16’; it prevents bacterial growth and kills anything that may be forming in the tank. More severe cases require a diesel bug shock treatment. Dirt and debris can also block filters and contaminate fuel so check and service regularly.
 “General wear and tear is the main cause of gear box and drive plate failure, so regularly service the gear box. When hitting an underwater object, it may affect the drive plate, but not necessarily the gear box. With a fouled propeller, loss of propulsion is commonly due to the prop being covered in debris such as weed or leaves. Clear by putting the engine into reverse.

 To find out more about River Canal Rescue go to their